
The finished product
The Ingredients:
I didn't follow the recipe exactly how it is suggested but below is the ingredients I used:- 3 cups of Oats (1 cup is about 225g)
- 3/4 cup of Raisins
- 3/4 cup of brown sugar
- 1 cup of honey
- 1 cup of non fat vanilla yogurt
- 1/2 cup of apple sauce
- 2 egg whites (beaten)
- 2 table spoons of skimmed milk
- 1 teaspoon Vanilla extract
- 1 teaspoon baking powder
- 1 teaspoon ground cinnamon

Everything you need
One of the positives of making your own power bars is that you know exactly what goes into your bar, so you can tailor it to your needs. The above ingredients are by no means a perfect recipe as there can really be no such thing, some people may prefer a harder or a softer bar which can be done by changing the ratio of solid and liquid ingredients.
The Method:
This is as simple of a method as you can get, it is simply a chuck everything into a bowl and mixing it through until a consistent mixture is made. The only additional thing to do is to make sure that the egg whites are lightly beaten prior to this, though they don't need to be too heavily beaten.
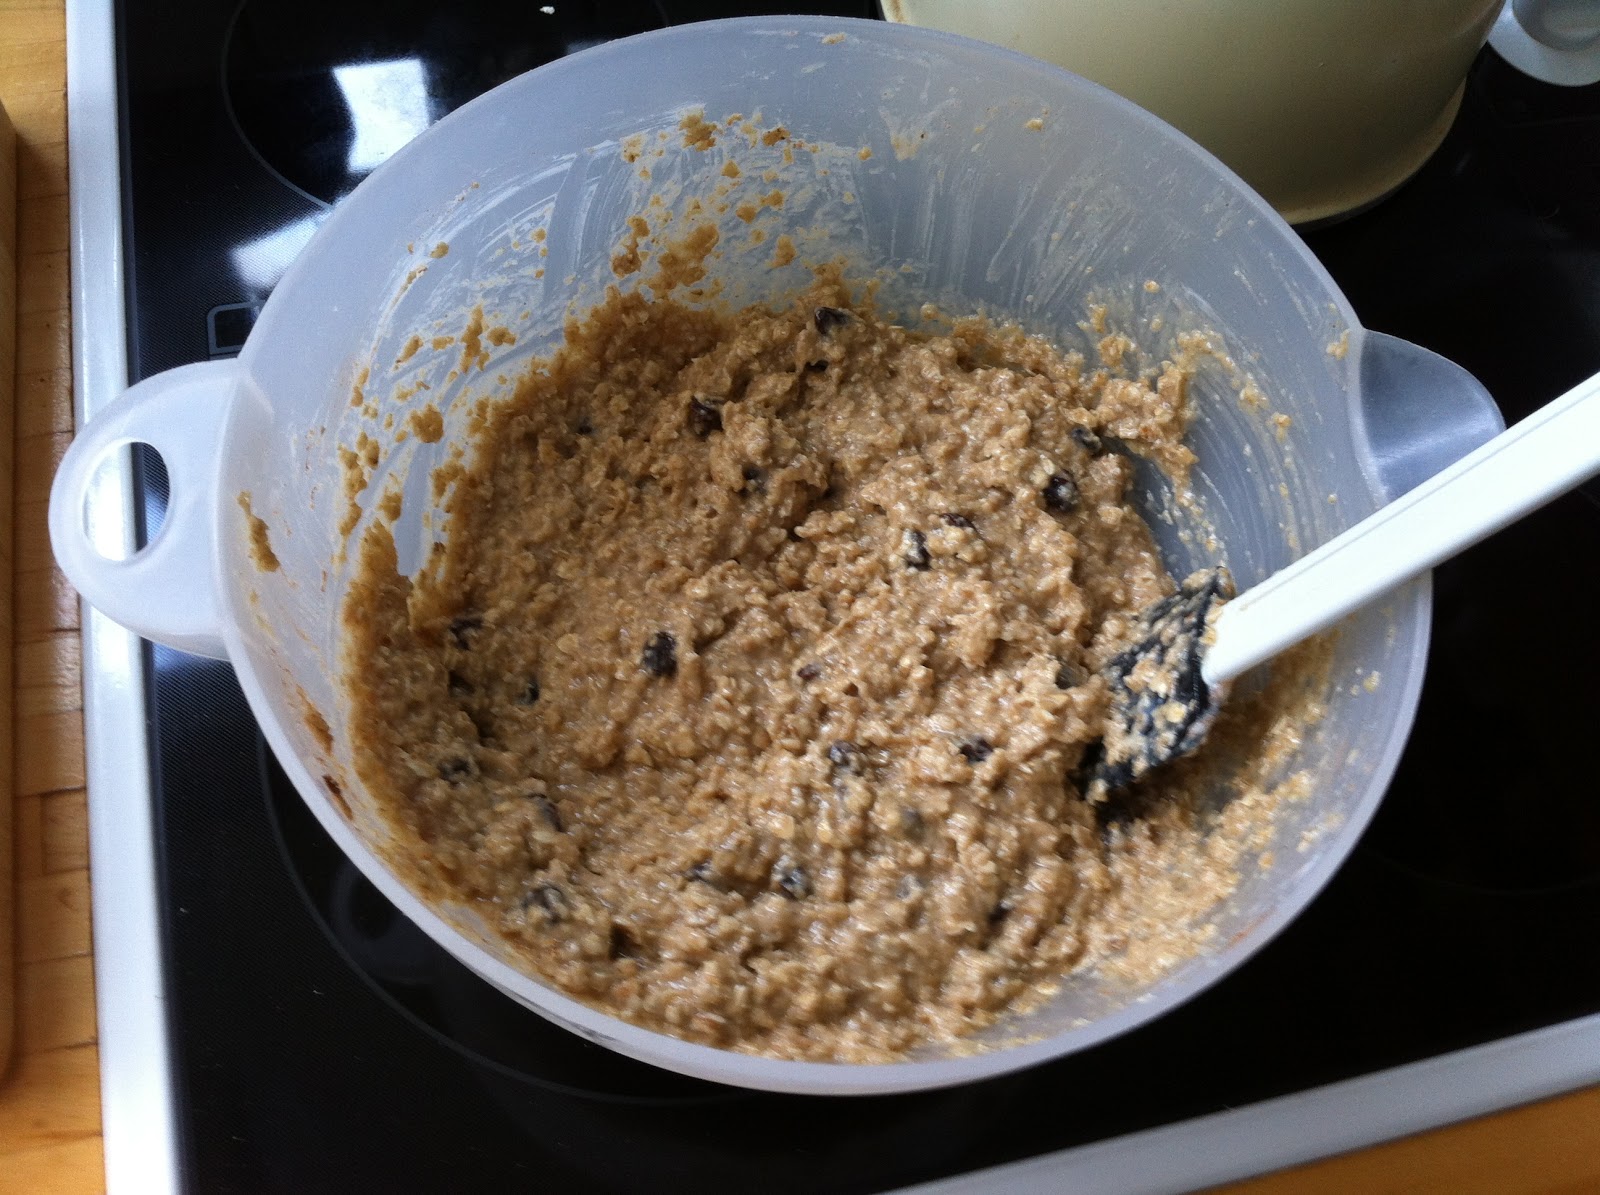
how it should all look together
Once the mixture looks like the one above its time to get baking. The mixture should be poured into a pan lined with baking paper and spread out so that it has an even consistency, this is to ensure that everything cooks evenly and will prevent having burnt edges and soggy middles! The pan should be put into an oven heated to 180 Celsius (350 Fahrenheit) and be left to cook for 25-30 minutes, and should look like this when its finished:

fresh from the oven!
This should be left to cool on the side and depending on how big you like to make your bars you should be able to make about 15 good sized bars.

ready to eat or freeze
If you've followed the ingredients exactly how I've laid them out above then your final product should be fairly firm but also still quite moist. Provided you wrap them well they should be able to handle the rough and tumble of your sports bag and if you need any advice on how to wrap them easily check out Dr Allen Lim's video on how to do so here. These bars will last a couple of days if stored in a dry environment but don't leave them too long as the eggs and milk in them will cause them to 'go off' if left too long, the alternative is to freeze them and just take them out of the freezer the day before a work out.
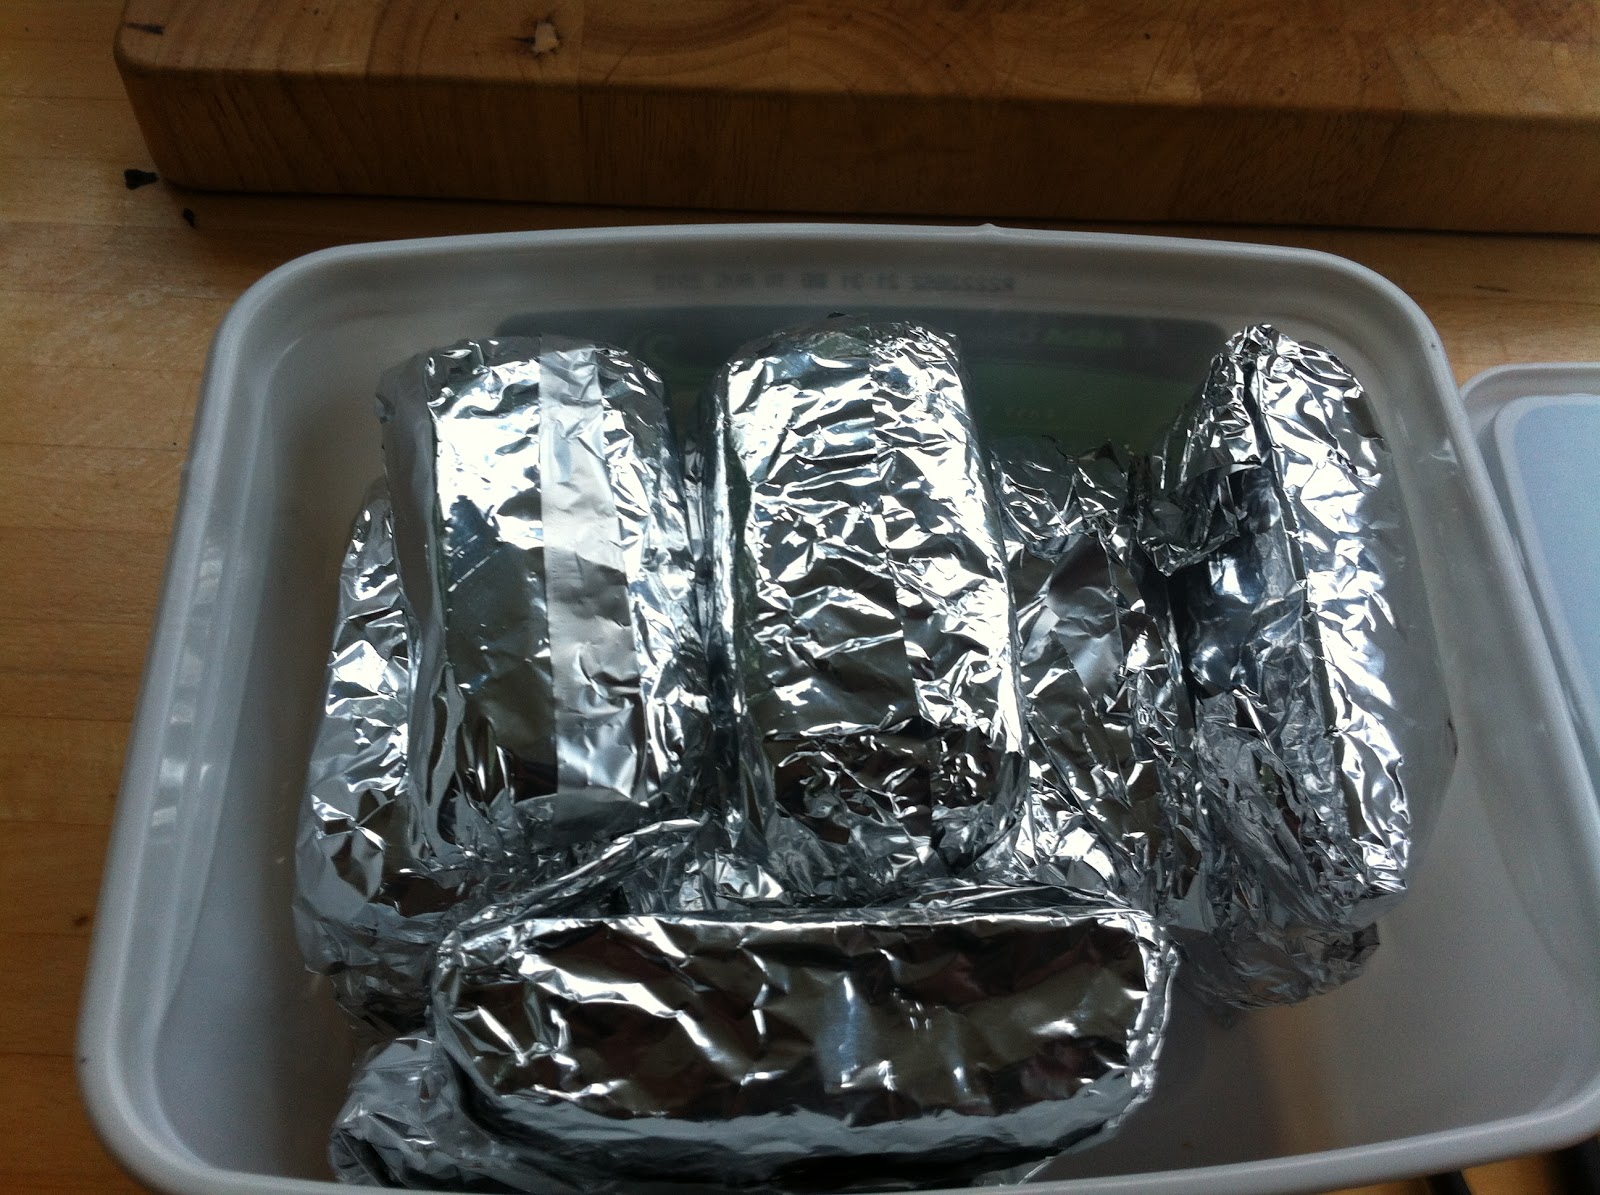
wrapped and ready to freeze
And that's all there is to making these bars, including prep and cooking this shouldn't take more then 40-50 minutes to make and are a much cheaper alternative to buying the bars off the shelves. A rough estimate for the cost of the ingredients used is £3.50 which works out to just short of 24p per bar instead of the £1.50 - £2.00 that you could be spending buying energy bars from the shops.
I could go into a lot of detail about the important qualities of some of the ingredients used to make these bars but this post would be getting a bit to long so to be simple I'll just say that they're a great source of energy that is released slowly to keep you going! By no means do you need to use the recipe as it is, you can substitute the raisins for other fruit such as cranberries or you can even use chocolate to ass some extra sweetness. To make this more gym suitable as well you can add some whey protein to the mixture to boast the protein content!
If you want to look at the original recipe you can do so here, otherwise let me know how you get on making these, or any changes you would have made.
Cheers,
Rich
No comments:
Post a Comment